Elastolith Canada | Flexible Brick Slips!
5
home,page-template,page-template-full_width,page-template-full_width-php,page,page-id-5,qode-quick-links-1.0,ajax_fade,page_not_loaded,,qode-title-hidden,qode_grid_1300,footer_responsive_adv,qode-content-sidebar-responsive,qode-theme-ver-13.0,qode-theme-bridge,wpb-js-composer js-comp-ver-5.4.4,vc_responsive

Flexible Brick Slips.

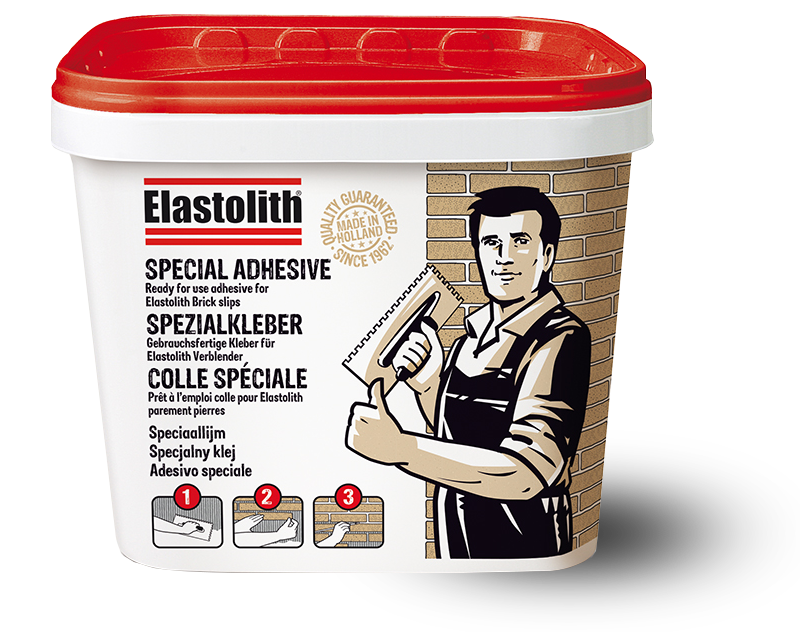
Elastolith is a Dutch manufacturer of flexible brick slips. The company has been producing these unique brick slips since 1982. However, the ingredients have been in use since 1962.

From grain of sand to customer! Brick slips are produced within the company, all the way from the grain of sand.

All of the raw materials, semi-manufactured products and end products are strictly controlled in our own laboratory according to European guidelines.

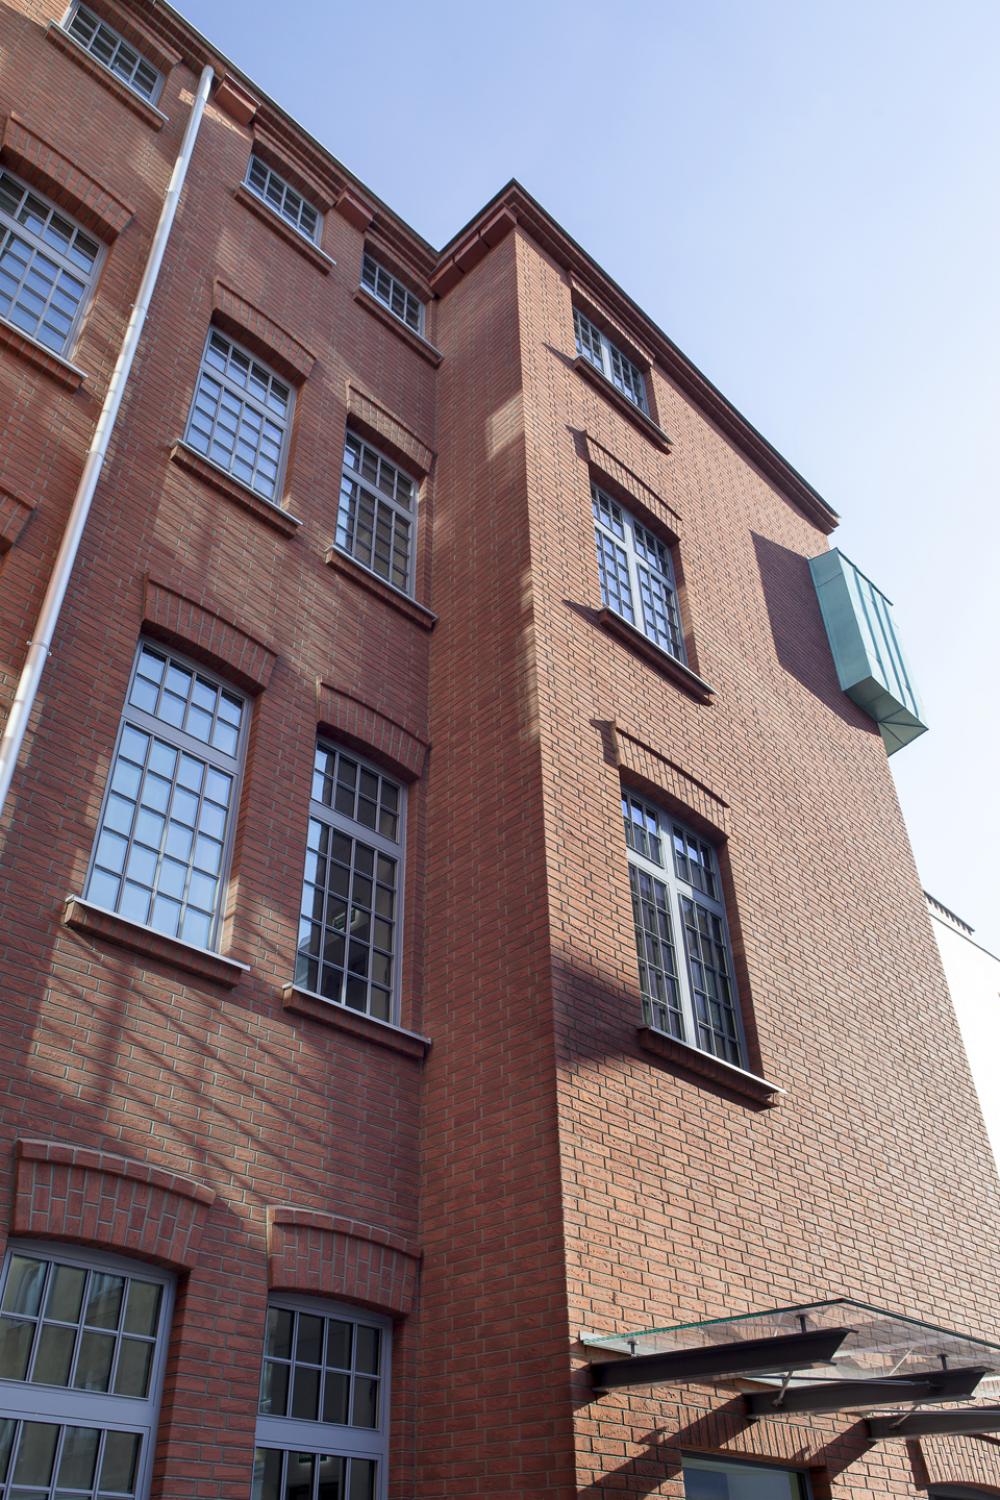
SmartBrick products provide a perfect facade finish, both aesthetically and technically. That is the years-long experience of architects, contractors, system owners, processors, corporations, other property owners and DIYers.

The company keeps a keen eye on trends in architecture and interior design. These serve as the basis for product development.

With the help of a notched trowel (4 mm) spread special SmartBrick adhesive on an area of approximately 1sq.metre. Do not spread on wider area due to fast drying rate of the adhesive. Thickness of the layer should be around 2 mm. It is recommended to start from top of the wall and work your way to the bottom.
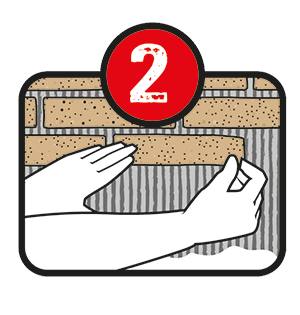
Press the flexible SmartBrick slip to the freshly applied adhesive and leave 12-14 mm space between the brick slips. You must carefully press over its entire surface to the adhesive immediately after the application

Installation of flexible SmartBrick slips does not require any special tools and it can be done by anybody with a little knowledge of DIY.

– Scissors
– Pencil
– Tape measure
– Flat brush 10 mm-12 mm
– Notched trowel 4 mm

The Process

Mounting SmartBrick is done in 3 easy steps!

Bonding.

With the help of a notched trowel (4 mm) spread special adhesive on an area of approximately 1sq.metre. Do not spread on wider area due to fast drying rate of the adhesive. Thickness of the layer should be around 2 mm. It is recommended to start from top of the wall and work your way to the bottom.

Pressing.

Press the flexible SmartBrick slip to the freshly applied adhesive and leave 12-14 mm space between the brick slips. You must carefully press over its entire surface to the adhesive immediately after the application.
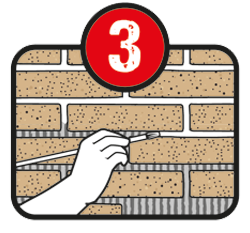
Grouting

After pressing the flexible brick slips the fresh excess adhesive must be removed by using a brush (12 mm wide) .It is very important to pay attention to the execution of sealing the joints to block the access of the water between the brick slips and the adhesive. It is very important to cover the edges of the brick slips must be fully coated with the adhesive.

Benefits

SmartBrick has some amazing benefits!

Do It Yourself!

Flexibility and ease of work makes SmartBrick the most friendly product, available for everyone from PRO to DIY. Installation of flexible brick slips requires no special tools and can be performed by any person who has a basic knowledge of DIY.

Cheap Solution

The SmartBrick system consists only two elements: Flexible brick slips and special adhesive which also indicates the colour of the grout. SmartBrick slips are available in several different colours, sizes and textures. They come in hand formed and extruded versions. The extruded brick slips are the most streamlined. The system requires no additional time-consuming grouting joints or impregnating. We save on expensive corners because flexible brick slips can be easily bent. SmartBrick is the lightest brick slip system in the world, it can be installed directly onto the wall without additional thermal insulation and very expensive reinforcements, which are necessary for veneer of traditional brick slips weighing several dozen kilograms per square meter. Due to extremely simple installation the system can save complications and money.

Hand made in Holland

Flexible SmartBrick slips are done by hand. Due to this all discolouration, shades in the colours and surface structures of each brick slip is different than the other. This means the end result is the same as the natural hand moulded bricks. With this unique properties, SmartBrick gained the trust of conservators.

Where? Everywhere!

The SmartBrick System is dedicated for interior and exterior use. A small thickness and the minimum weight of the System solves most of the problems with the assembly of traditional brick slips. The unusual properties of the System allows installation of flexible brick slips onto the insulation. The need of costly stainless steel hooks, brackets or even additional foundations necessary for the traditional brick slips has been eliminated. SmartBrick is the lightest brick slip cladding system in the world and in this regard SmartBrick is unique.

Amazing colours of SmartBrick plus 5 colours of adhesive/grout.

For more than 50 years of manufacturing flexible brick slips in the data base of Elastolith it has over 6000 recipes of different colours. For obvious reasons, in the standard palette of colours, there are several items available in stock. With Elastolith's patented technology in 1962 Elastolith laboratory is able to reproduce every colour and texture no matter whether the sample is a modern product or brick a historic monument. Additionally, the system allows for a combination of one flexible brick slip from as many as five different colours of adhesive which is also the grout. With these capabilities to create unique cladding is only a matter of imagination of an investor or an architect.

Adhesive Grout

The SmartBrick System consists only two components: a flexible brick slip and special adhesive which also is the grout. After embedding the SmartBrick slips, with the help of a brush smooth out the adhesive to achieve finished grout effect.

See how easy it is to work with SmartBrick!

Watch this short video to see how easy it is to bond, press and grout SmartBrick to any interior or exterior surface!

← Watch the video!

eco_friendly

Photo Gallery